In the next section, a unique header will be added to all outgoing e-mails based on
which the eperi Milter app will be able to identify outbound e-mails in
scope of decryption.
Procedure
-
In the Microsoft 365 admin center, open the menu on the
left and click .
The page Exchange admin center opens in a new
browser tab.
-
From the vertical menu on the left, click .
-
Click .
-
In the New transport rule window, enter a name for the new rule.
-
As a condition (Apply this rule if), select and then select Outside the
organization.
-
As an action (Do the following), select .
-
Define a unique header name and header value by clicking on Enter text.
Note: The header name and the corresponding value can be freely chosen, but should be unique. These values are later needed for
Configuring the eperi Milter app -
Click on Next to go to the Set rule settings section. The settings can be left at the default values.
-
Click on Next to go to the Review and finish section. Review the conditions and settings of your transport rule and click on Finish to create the transport rule.
-
After the rule has been created, click on Done.
-
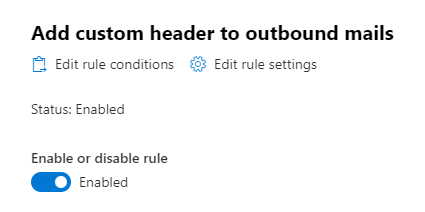
In the Rules overview, click on the newly created rule and enable it by
toggling the Enable or disable rule switch.
Results
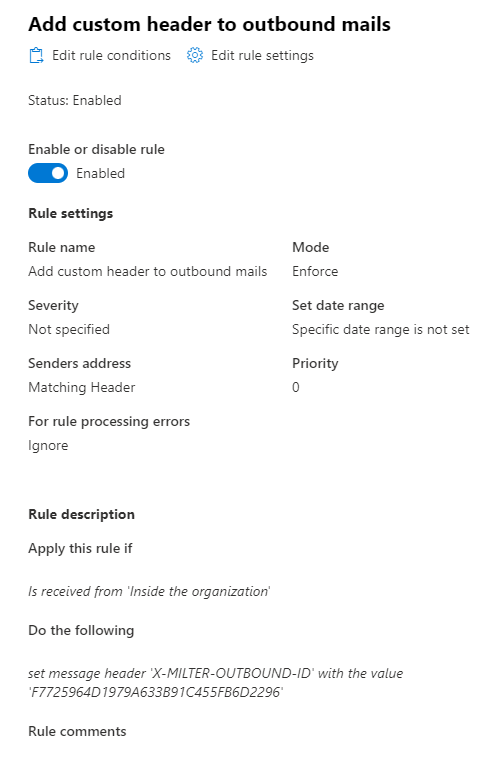
The rule is successfully created and should look similar to the following example: