Performing the initial configuration
After you successfully installed all of the eperi sEcure Platform components, you need to perform its initial configuration. First of all, you need to select the Master Key method and configure the connection to the Platform database.
Procedure
-
Create a new database.conf file by using the
eperi sEcure Platform CLI tool as follows:
-
Start the
eperi sEcure Platform CLI tool:
su eperi -c "/opt/eperi/gateway/cli/gateway-cli"The eperi sEcure Platform CLI tool is started and you may now enter a command at the eGfCA> prompt: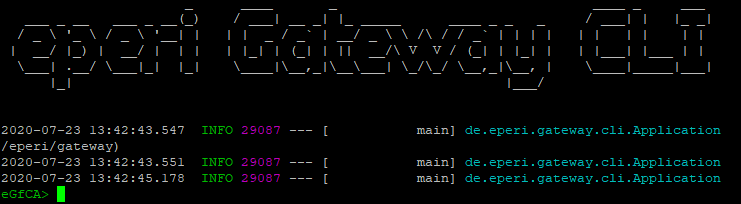
Tip: Type help to get a list of all possible commands, type help <command> to get details about the parameters of this command. -
Select a value for the Master Key method:
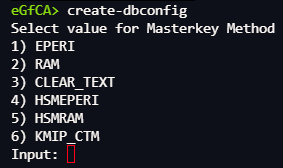
eperi sEcure Platform uses the Master Key to encrypt eperi sEcure Platform's system keys. With the system keys, sensitive data in the eperi sEcure Platform database (such as encryption keys and configuration data) is encrypted.
Option in CLI tool Option in Admin Console Description EPERI Eperi Encryption Choose this method to encrypt the system keys with eperi sEcure Platform's encryption feature. RAM RAM Password Choose this method to encrypt the system keys with your own password. This password is kept only in memory and must be entered on each start of eperi sEcure Platform. Important: If you intend to use this Master Key method, a modern OS is needed, for example CentOS/RHEL 8 or Ubuntu 18 LTS / 20.04 LTS. The eperi user needs permissions to use systemd-tty-ask-password-agent in order to prompt for the RAM password. Use setfacl to grant the eperi user the necessary permissions for this purpose:sudo setfacl -m u:eperi:wx /run/systemd/ask-password
CLEAR_TEXT Clear Text Choose this method to store the system keys unencrypted in the database. In this case, we recommend to protect the system keys with the vendor-specific database encryption. We also recommend to protect the file /opt/eperi/gateway/tomcat/webapps/ROOT/etc/database.conf with proper operating system access control mechanisms since the connection credentials for the eperi sEcure Platform database are stored in the clear inside this file. HSMEPERI HSM Eperi Encryption Choose this method to protect the system keys with an HSM. The HSM credentials are encrypted with eperi sEcure Platform's encryption feature. Additionally, it is required to enter the credentials of your HSM (see below).
HSMRAM HSM RAM Encryption Choose this method to protect the system keys with an HSM. The HSM credentials are encrypted with your own password which is kept in memory and must be entered after each start of eperi sEcure Platform. In case you have selected this option, you are prompted to enter the RAM Password twice. Additionally, it is required to enter your HSM credentials (see below).
KMIP_CTM KMIP CTM Choose this method to protect the system keys with KMIP CTM. KMIP is a protocol that supports various key management activities, such as key generation, distribution, and deletion. It also provides interoperability between different key management systems and clients. CipherTrust Manager (CTM) is part of the Thales CipherTrust Data Security Platform. With KMIP CTM, CipherTrust Manager stores and administers the master key, which is accessed via KMIP.
N/A Hardware Security Module Choose this method to protect the system keys with an HSM. Please make sure the eperi sEcure Platform server can connect to the HSM by following these steps first: - Your HSM device/hardware and the HSM client are correctly set up and configured. Please see the topic Connecting a Luna HSM to eperi sEcure Platform for instructions how to do this in case of a Luna HSM.
- You have manually copied the respective "provider" JAR file to the folder
/opt/eperi/gateway/tomcat/webapps/ROOT/WEB-INF/lib.
- For a Luna HSM: LunaProvider.jar
- For a Utimaco HSM: CryptoServerJCE.jar
- HSM credentials protection method: Select
which method should be used to protect the HSM credentials and
the database.conf:
- eperi Encryption: The HSM credentials are encrypted with eperi sEcure Platform's encryption feature.
- RAM Password: The HSM credentials are encrypted with your own password which is kept in memory and must be entered after each start of eperi sEcure Platform. In case you have selected this option, you are prompted to enter the RAM Password twice.
- HSM Partition: Enter the HSM Partition to be used.
- Password for HSM Partition: Enter the Password for this HSM Partition.
- Key Alias: Enter the Key Alias to be used.
- HSM Device: Enter the name of the HSM Device to be used (e.g. 3001@hostname).
- Username: Enter a user name.
- Password: Enter your password.
- Key Alias: Enter the Key Alias to be used.
- Key Group: Enter a Key Group to be used (optional).
- Key Specifier: Enter a Key Specifier (optional).
-
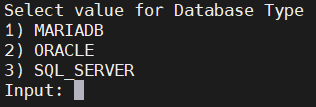
Select a value for the Database Type:
-
Enter the Database connection properties and credentials, such as database user and database name.
Option Description Database Type Select the appropriate Database Type for your DBMS: Database Type Your DBMS MariaDB MariaDB 10.2 or higher Microsoft SQL Server Microsoft SQL Server 2008 or higher Oracle Oracle 11, 12 or 18c Use TLS Choose whether to secure the JDBC connection between eperi sEcure Platform and the database with TLS: - No (default) = Do not use TLS for the JDBC connection
- Yes = Use TLS for the JDBC connection. In this case, additional fields are displayed to provide the credentials for the JKS truststore and keystore.
If TLS is used, please note the following:- For all databases it is required that TLS v1.2 is activated.
- The Common Name of the server certificate must correspond to the FQDN, which is entered as the host name in the Database Server field.
- Not supported is the following mode: Two-way SSL with Client-Auth without username + password.
For Oracle databases Two-way SSL with Client-Auth and username + password is supported.
For MariaDB databases the following TLS options are supported:
Option Description REQUIRE NONE TLS is not required for this account, but can still be used. REQUIRE SSL The account must use TLS, but no valid X.509 certificate is required. REQUIRE X509 The account must use TLS and must have a valid X.509 certificate. REQUIRE ISSUER 'issuer' The account must use TLS and must have a valid X.509 certificate. Also, the Certificate Authority must be the one specified via the string issuer. REQUIRE SUBJECT 'subject' The account must use TLS and must have a valid X.509 certificate. Also, the certificate's Subject must be the one specified via the string subject. REQUIRE CIPHER 'cipher' The account must use TLS, but no valid X.509 certificate is required. Also, the encryption used for the connection must use one of the methods specified in the string cipher. For Microsoft SQL Server, TLS is supported, but it is not possible to provide a JKS keystore. The reason for this is that Microsoft SQL Server does not support Two-way SSL.
Path to JKS truststore file Enter the absolute path (+ filename) to the JKS truststore file. (Example: /opt/eperi/gateway/keystores/truststore.jks) The JKS truststore file must contain certificates from trusted Certificate Authorities (CA) and - if available - all intermediate CA certificates.
Important: The file must be available on the target server and eperi sEcure Platform needs read permission on this path and file.Tip: If you use Oracle Fusion Middleware 11g Release 1, you can export the JKS truststore and keystore from the Oracle Wallet. Instructions can be found here: https://docs.oracle.com/cd/E28280_01/core.1111/e10105/walletmgr.htm#ASADM10617Alternatively, you may use the standard Java truststore. In this case, leave this field empty. When you install eperi sEcure Platform with the automated installation package, the standard Java truststore is available here: /opt/eperi/gateway/java/jre/lib/security/cacertsJKS truststore password Enter the password of the JKS truststore. Leave it empty, if you are using the standard Java truststore. Path to JKS keystore file Enter the absolute path (+ filename) to the JKS keystore file. (Example: /opt/eperi/gateway/keystores/keystore.jks) The JKS keystore file must contain the X.509 client certificate and the client private key which will be used to authenticate the client on the server. This is required for Two-way SSL with Client-Auth. If you are - for example - using MariaDB, you must provide a JKS keystore for all TLS options where the account must use TLS and must have a valid X.509 certificate.
Important: The file must be available on the target server and eperi sEcure Platform needs read permission on this path and file.JKS keystore password Enter the password of the JKS keystore (required for Two-way SSL with Client-Auth). Authentication Mode This field only appears if you have selected Microsoft SQL Server as the database type. Select one of the following options: - SQL Server Authentication: eperi sEcure Platform should use SQL Server Authentication to connect to your Microsoft SQL Server.
- Windows Authentication (via Kerberos): eperi sEcure Platform should use Windows Authentication to connect to your Microsoft SQL Server.
If you have selected Windows Authentication (via Kerberos), please review the Important notes about Windows Authentication (via Kerberos) for MS SQL Server.
Username Enter the name of the database user. This is the special database user for connecting eperi sEcure Platform to the database, e.g., eperi_dbuser. Password Enter the password of the database user. Database Name Enter the database name, e.g. eperi. Database Server Enter the host name of the database server, e.g. localhost (if the database is located on the same machine as eperi sEcure Platform). Note: For Microsoft SQL Server, when connecting to a specific Instance, the backslash must be escaped when entering the Database Server, e.g. SERVER\\INSTANCEDatabase Port Enter the port of the database, e.g. 3306 for MariaDB. Note: The database port may be different, if you configure to use TLS for the JDBC connection. Which port is used depends on the configuration of the database.Note: For Microsoft SQL Server, the Port can also be set to -1 to pass on the Instance name instead of the Port to the JDBC driver for MSSQL, making it possible to connect to a different Instance than the default while using Port auto-detection.The eperi sEcure Platform CLI tool creates the database.conf file and stores it in the folder in which eperi sEcure Platform expects it:
-
Start the
eperi sEcure Platform CLI tool:
-
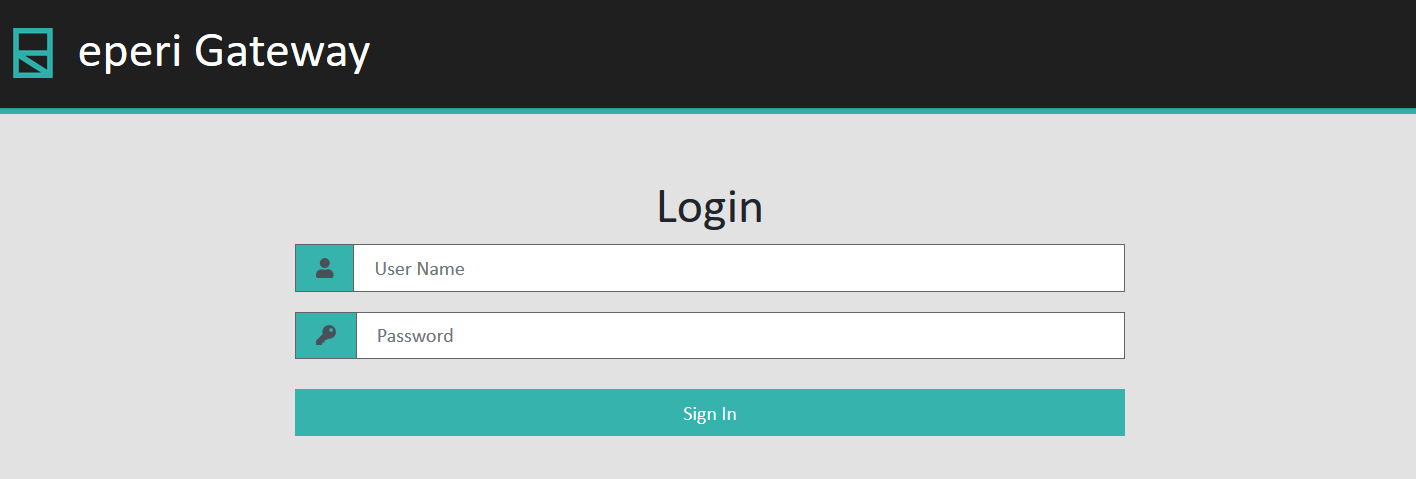
Access the eperi sEcure Admin Console at: https://<eperi sEcure Platform hostname>:8443
The Login page is displayed:
-
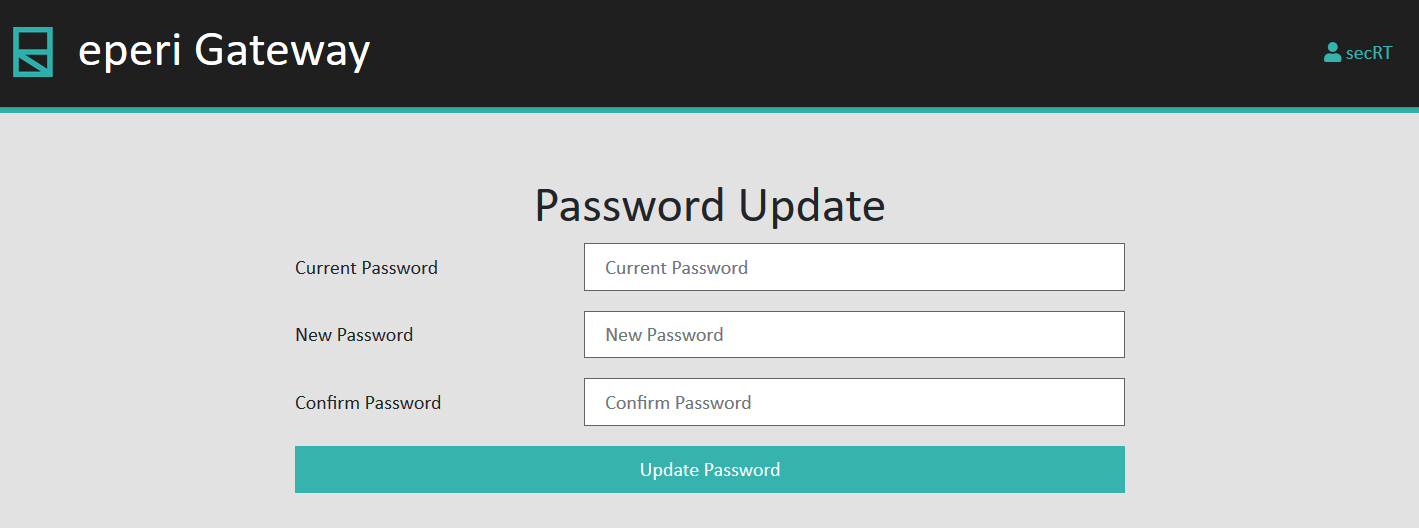
Log in with the default user secRT and the default password secRT.
The Password Update page is displayed:
-
Click Update Password.
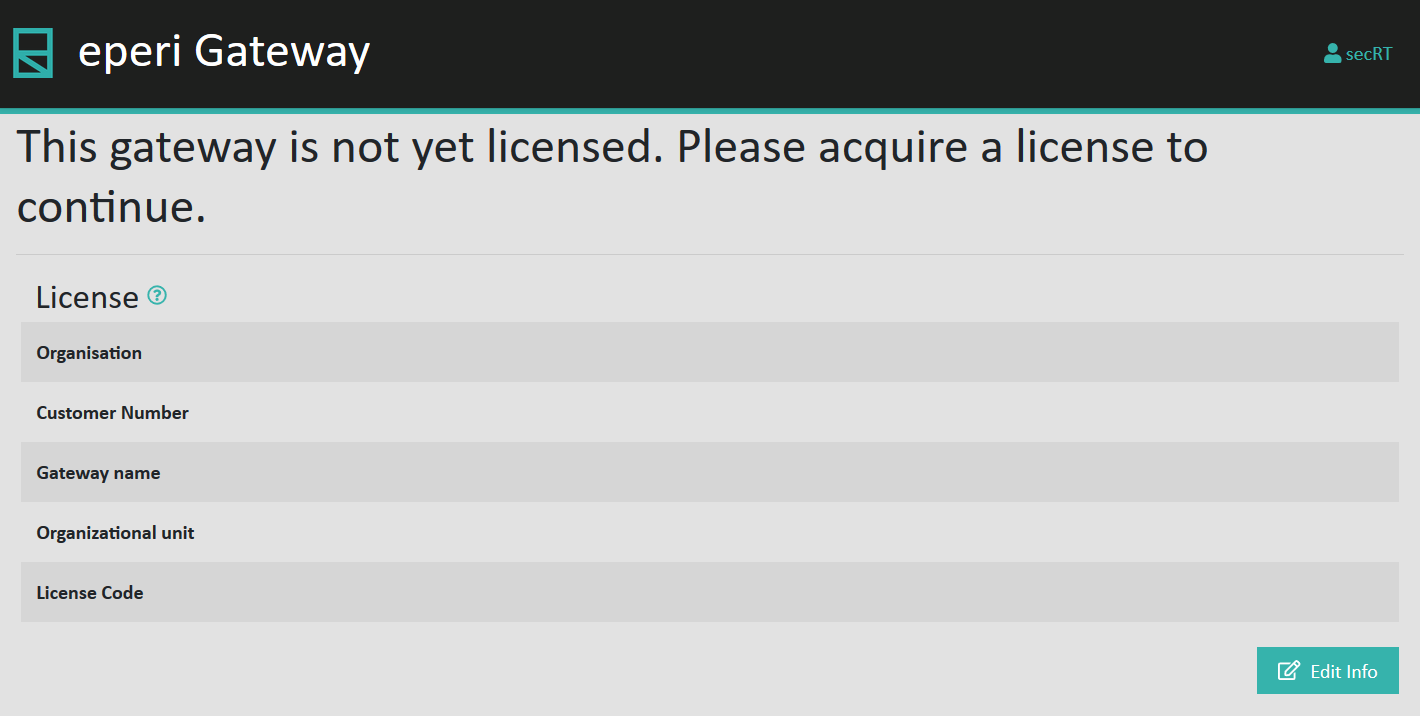
After you have successfully changed the password of the secRT user, you will be asked to license eperi sEcure Platform.