
Creating a reverse proxy and adding the Salesforce app to it
It is necessary to create a reverse proxy and attach the newly created Salesforce app to it.
Procedure
-
Click + New in the upper right corner to add a new proxy.
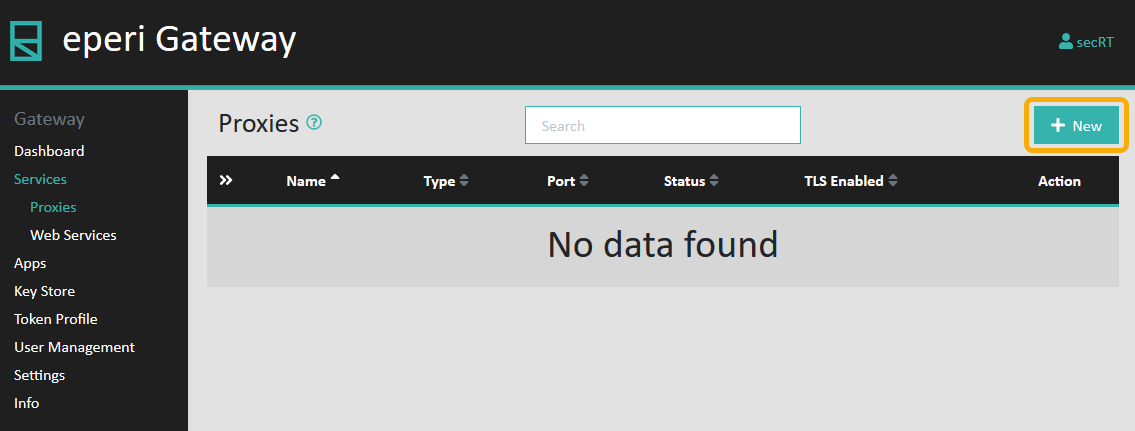
-
Switch on TLS enabled.
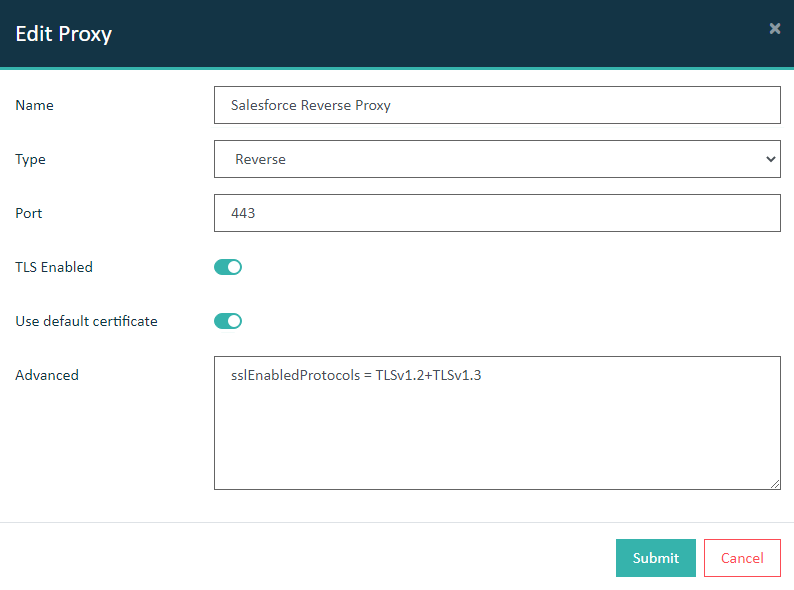
-
Click the Assign Apps action and assign the Salesforce
Reverse Proxy App.
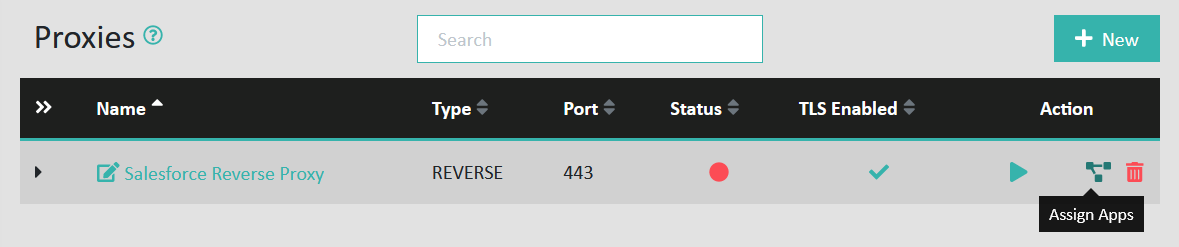
-
Finally, start the reverse proxy by clicking the Start Proxy
action:
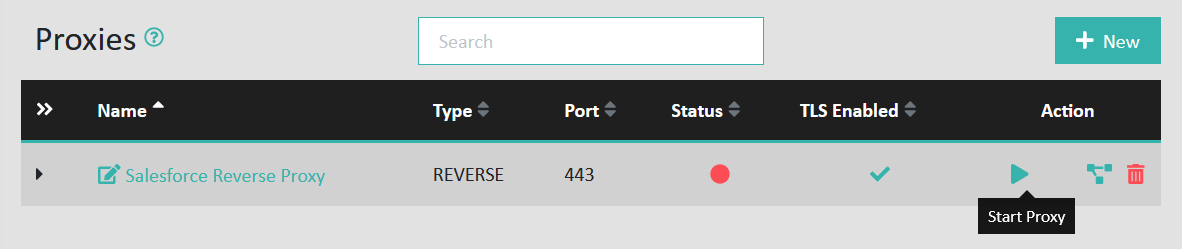
The proxy Status should be Running now: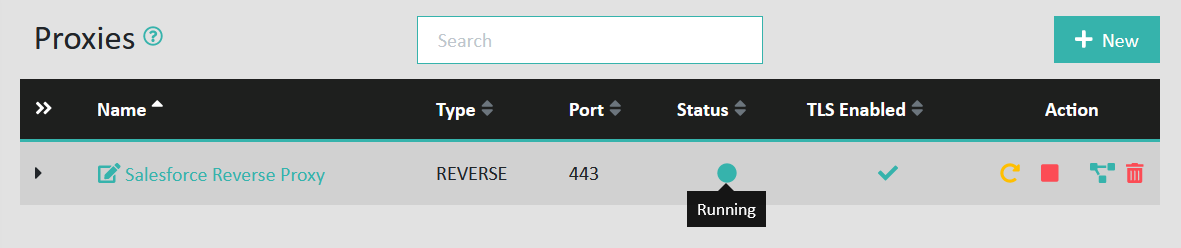
Results
Important: Until now, you have configured the reverse proxy for demo purposes and
you could start it in the tab Dashboard. In that configuration, the
certificate to secure the transport layer is created by the eperi sEcure Platform on the
fly and is signed by the eperi Root CA. This will generate SSL/TLS error messages.