Creating a forward proxy and adding the Salesforce app to it

It is necessary to create a forward proxy and attach the newly created Salesforce app to it.

Procedure

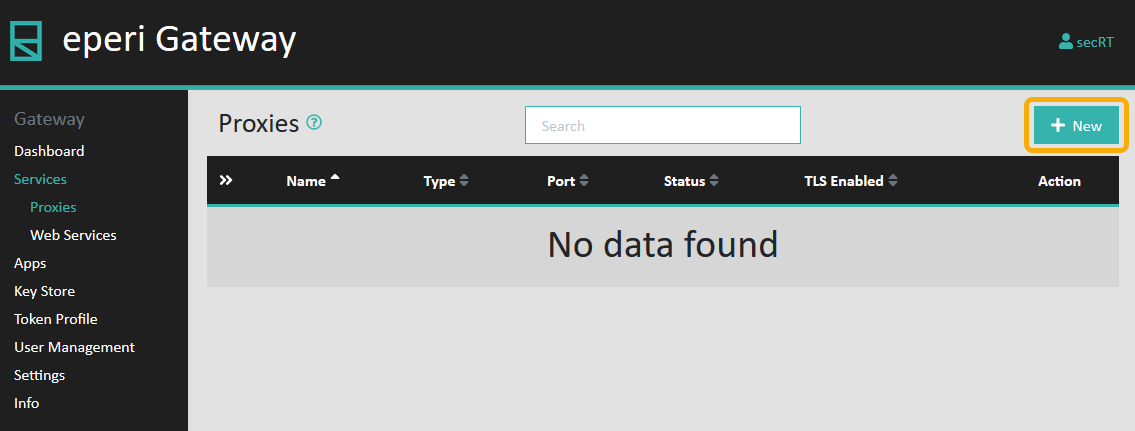
  1. In the eperi sEcure Platform Admin Console, select Services > Proxies in the main menu.
  2. Click + New in the upper right corner to add a new proxy.
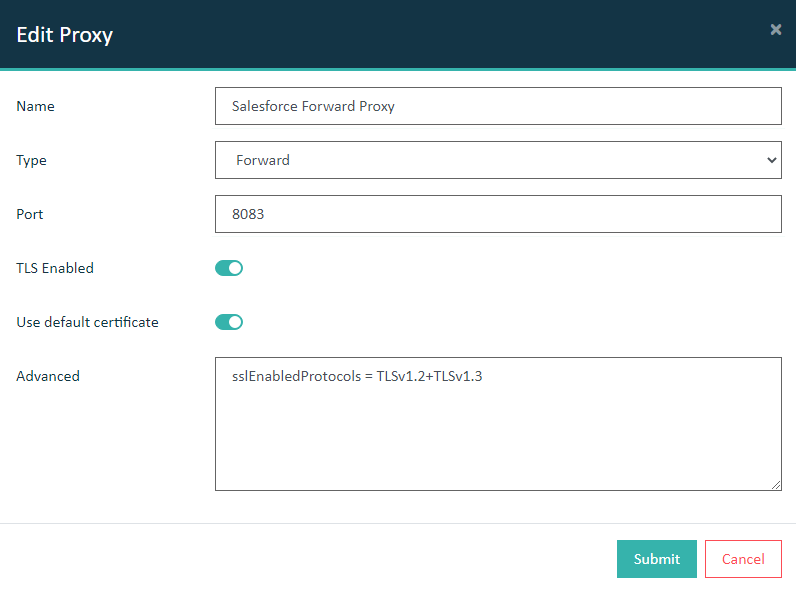
  3. Enter a Name such as Salesforce Forward Proxy.
  4. Select Type Forward from the drop-down menu.
  5. Enter a port number not used otherwise, for example 8083.
  6. Switch on TLS enabled.


  7. Click Submit.
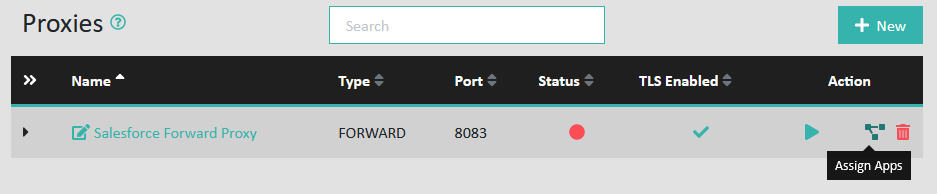
  8. Click the Assign Apps action and assign the Salesforce Forward Proxy App.

  9. For security reasons, we strongly recommend to secure the connection between the end user and the eperi sEcure Platform with TLS. To do so please proceed as described in section Select a CA TLS Key (only for forward proxy) in the eperi sEcure Platform Admin Manual.
  10. Finally, start the reverse proxy by clicking the Start Proxy action:
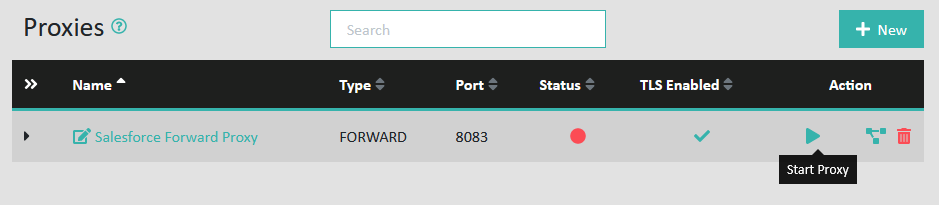

    The proxy Status should be Running now:
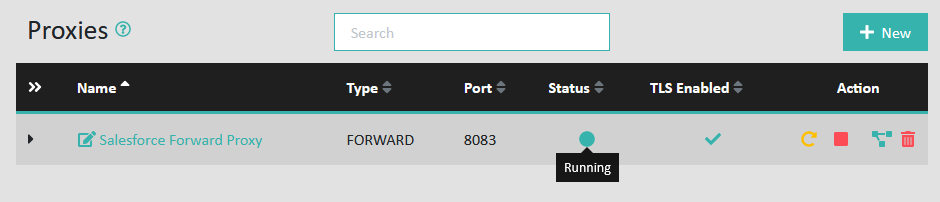
Results

You have successfully set up a forward proxy for Salesforce.