
Setting up selective data protection (as needed)
Get to know how to set up selective protection of your Salesforce data. This allows you to only protect certain Salesforce data based on object-specific field rules.
Before you begin
About this task
- Only standard objects such as Accounts, Contacts, Opportunities, Leads and Cases are supported.
- Selective protection just applies for fields directly related to the selected objects. Related fields and global value sets (e.g. Global Picklist protection) are out of scope for this feature.
- Limitation regarding report filters: When using Selective Protection on an object, report filters should only be created on fields to which no data protection policy is applied.
-
Tip: When updating data with the Data Loader using the SOAP-based API, the performance could be improved as follows: Include all fields in the changeset which are referenced in your selective protection rules.
Procedure
-
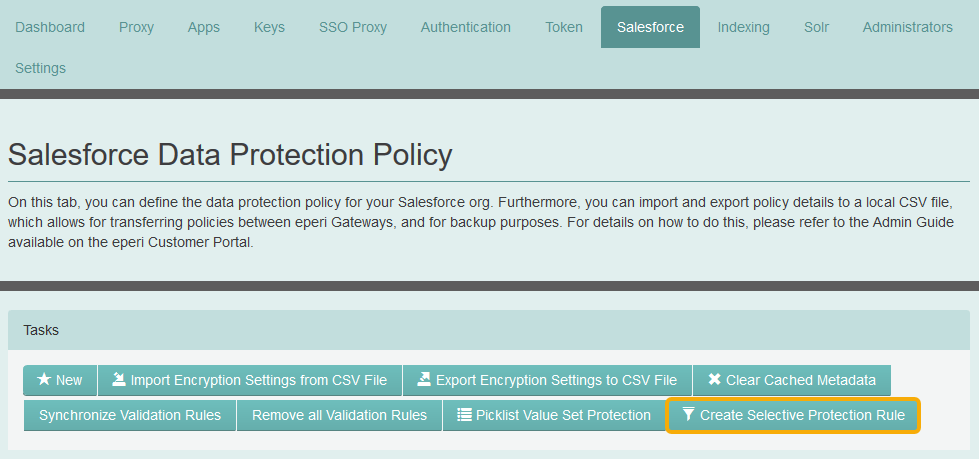
In the Tasks section click Create Selective
Protection Rule.
-
In the pop-up menu Create Selective Protection Rule,
provide the required information and then click OK.
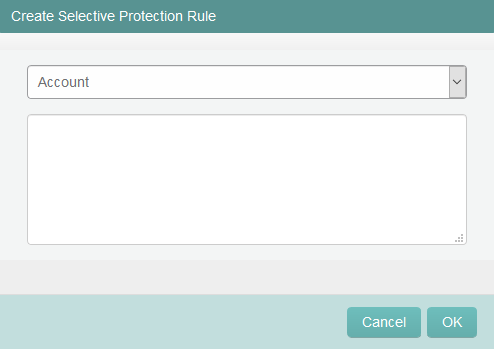
Option Description Salesforce Object Select the Salesforce object to which your rule should be applied. You could for example select the Account object. Selective Rule Enter your rule for the selected object. Please note the following regarding the rule syntax:- It can be compared if an object field equals
(==), not equals
(!=), a certain string
value or given Regular Expression matches
(=~) to a certain string
value. Examples: Name ==
"value", Name !=
"value", Name =~
"[A-Za-z]+". Note: More information on how Regex works can for example be found and tested here: Regex 101
- Comparisons can be connected by AND (&&) or OR (||).
- Connected comparisons can be grouped with parentheses. Example: (LastName == "value" && FirstName == "value2") || LastName == "value3"
- A group can be negated with a ! as prefix. Example: !(LastName == "value" && FirstName == "value2")
- Use the field names as defined in the Salesforce Object Manager. Do not use the field labels!
- Only one rule can be created per object.
The rule is created and displayed in the Selective Protection Rules section. For example: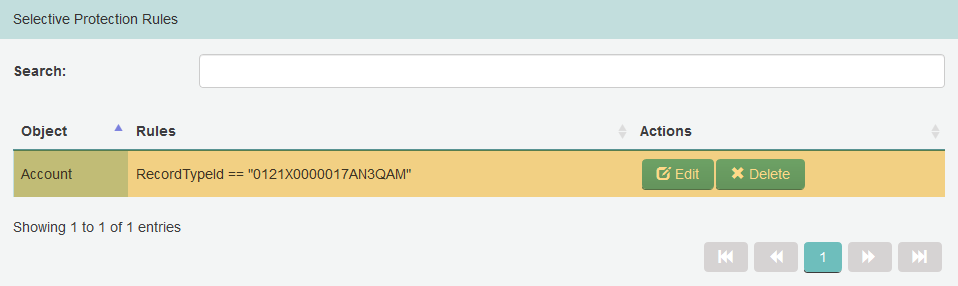
With the rule in the example above, only Accounts with the RecordTypeId "0121X0000017AN3QAM" will be protected according to the defined data protection policy.
- It can be compared if an object field equals
(==), not equals
(!=), a certain string
value or given Regular Expression matches
(=~) to a certain string
value. Examples: Name ==
"value", Name !=
"value", Name =~
"[A-Za-z]+".
-
Select the Dashboard tab and restart the Salesforce
Reverse Proxy.
Important: In a cluster setup, the proxy must be restarted with Cluster Wide option.
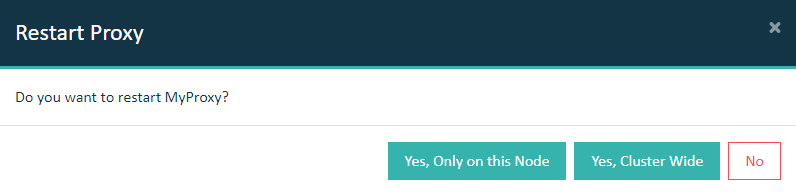 After the Salesforce Reverse Proxy has been restarted the selective protection rule will be applied immediately.